
Real Grade Crossbone Gundam
Seems like it’s been a weirdly long time since I’ve reviewed a RG kit. Or written anything of substance on here other than brief commentary for Youtube links to Zoids Wild kits. But the thing is, these don’t exactly come out every week, and there are only maybe one or two older ones left that I even want, so I’ll just be doing these as they come out from now on.
 I really don’t know anything about the Crossbone Gundam other than that it has a skull on it. I actually thought it was a Wing kit before I got it. Turns out it only appeared in a manga, apparently, but it’s been hugely popular ever since. I dunno, I like skulls, so… yeah.
Here’s a look at the sprues.
 Nothing too out of the ordinary here in terms of the number of parts and sprues, but when you take it all out of the box, you get the first impression that there are fewer parts because there’s much less plastic. It’s not the number of parts, though, it’s their size. This kit is tiny.
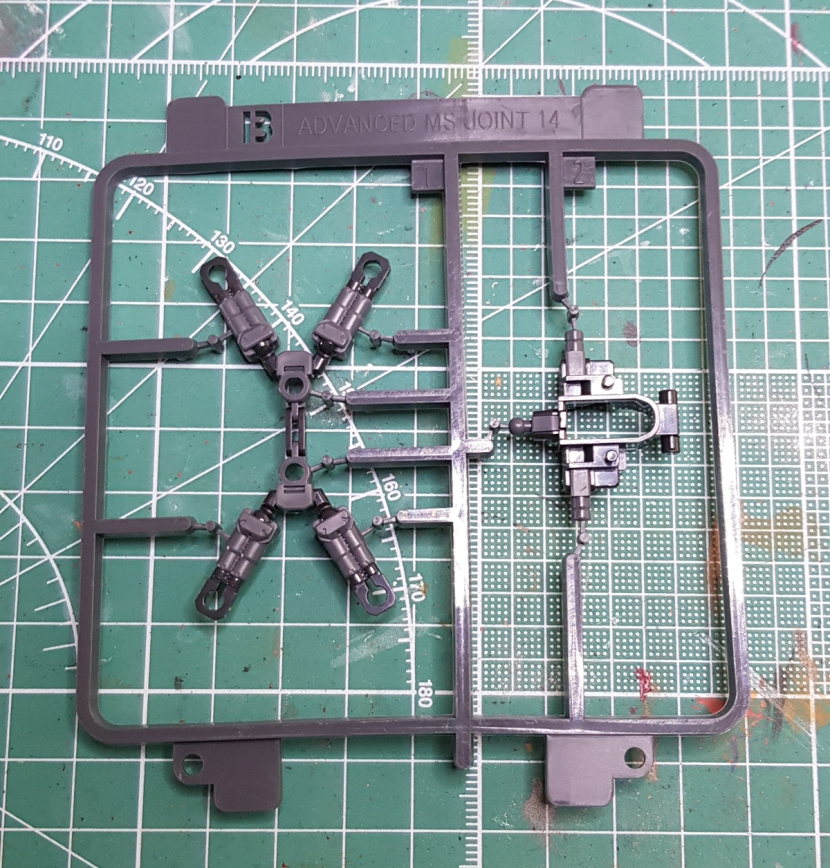 The other thing that stands out is the B sprue. Yep, this is it. Two parts. Number 1 on the left is the internal structure of the core fighter, number 2 is the inside of the torso, and that’s it. Everything else is just regular plastic parts. It’s pretty clear at this point that it’s only a matter of time until these are going to disappear from the RG line completely – I’m not even sure these two parts are necessary here anymore. Maybe the one for the core fighter because it has to hold up relatively big parts with very small joints, but the torso could’ve just as well been a few separate parts.
Anyway, the instructions have you start by assembling the core fighter.


It starts by folding up part B1 into this contraption, then building the four thruster arms.


Then you put together the main fusealge and the cockpit and you’re done. Note the small hinge that allows the nose to be folded down for insertion into the mobile suit’s back. As you can see, the hinge that holds it together is maybe 5 millimeters long. This stuff is all incredibly tiny, but it fits together perfectly, and I also found this to be far less difficult to put together than the Skygrasper, which is a plane of about the same size.
After the core fighter, assembly of the suit starts, shockingly and out of nowhere, with the feet. Nothing too out of the ordinary here, except of course there’s no MS joint inner frame.


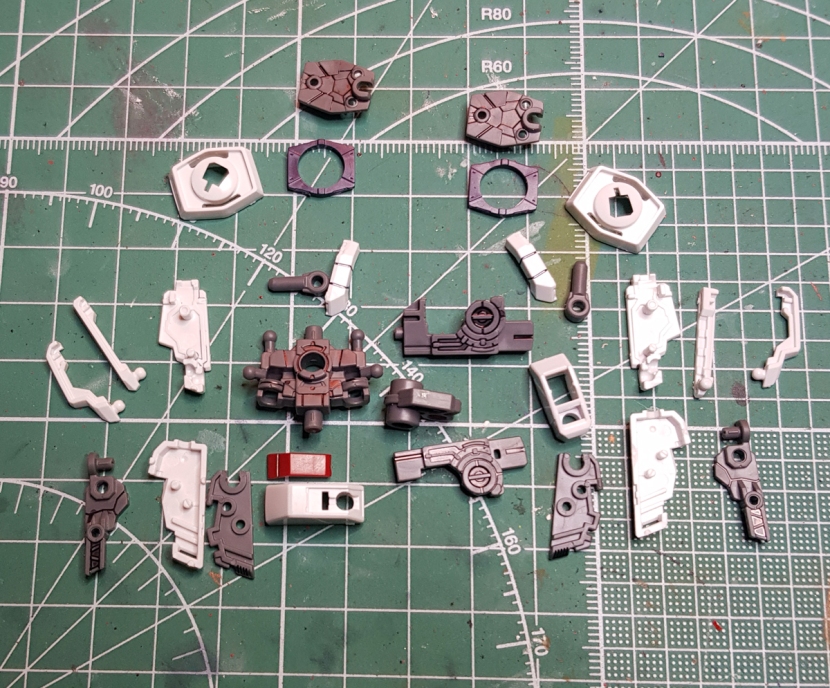
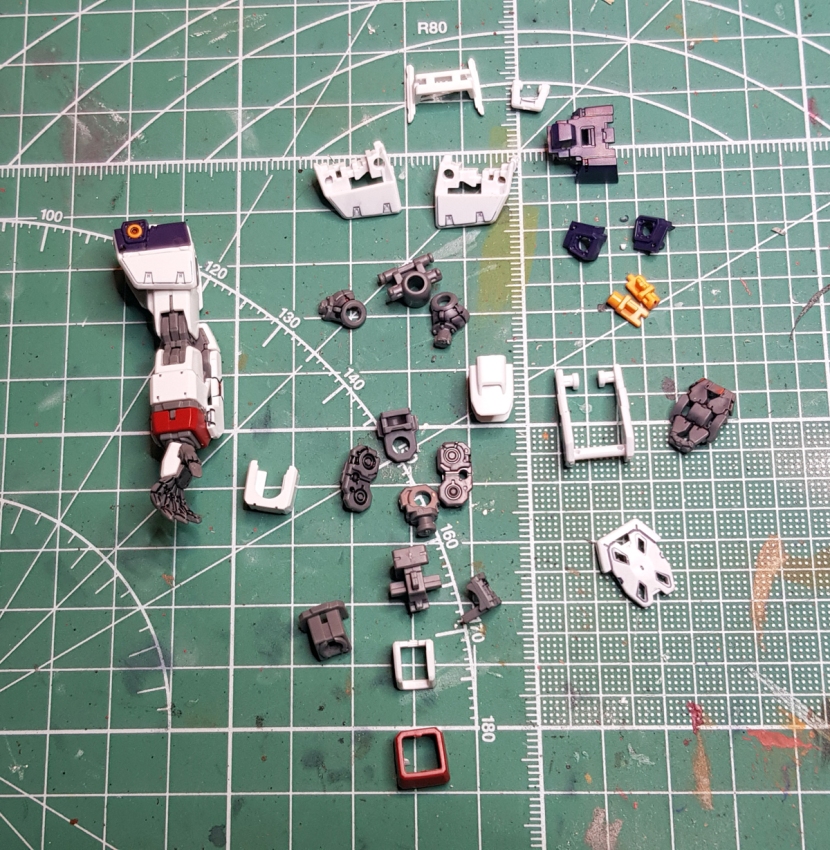
Next are the legs which, as usual, are the most complex part of the suit. For some reason I didn’t take a whole lot of pictures during their assembly, but here are all the parts that go into one.
 Here’s a look at how the knee works. The yellow piece slots into both the knee joint and the shin. This allows the knee armor to shift slightly as the knee bends. It’s a small touch, but it’s pretty neat, especially since the new inner frames so far have generally meant no more shifting armor plates.


Here’s how the ankle armor attaches to the leg. I just thought this was worth showing because I don’t remember any ankle armor on a RG I’ve built so far attaching this way, and it works very well.
 The “waist unit” is, uh, yeah. Lots of parts here.
 The hip joints are on a hinge so that they can be shifted for extra poseability. As usual, I think this is kind of pointless. On this particular kit, you move the legs so far away from the torso that it just looks ridiculous.


Here’s the assembly of the skirts. The front ones are particularly involved because of the, um, “scissor anchor”.


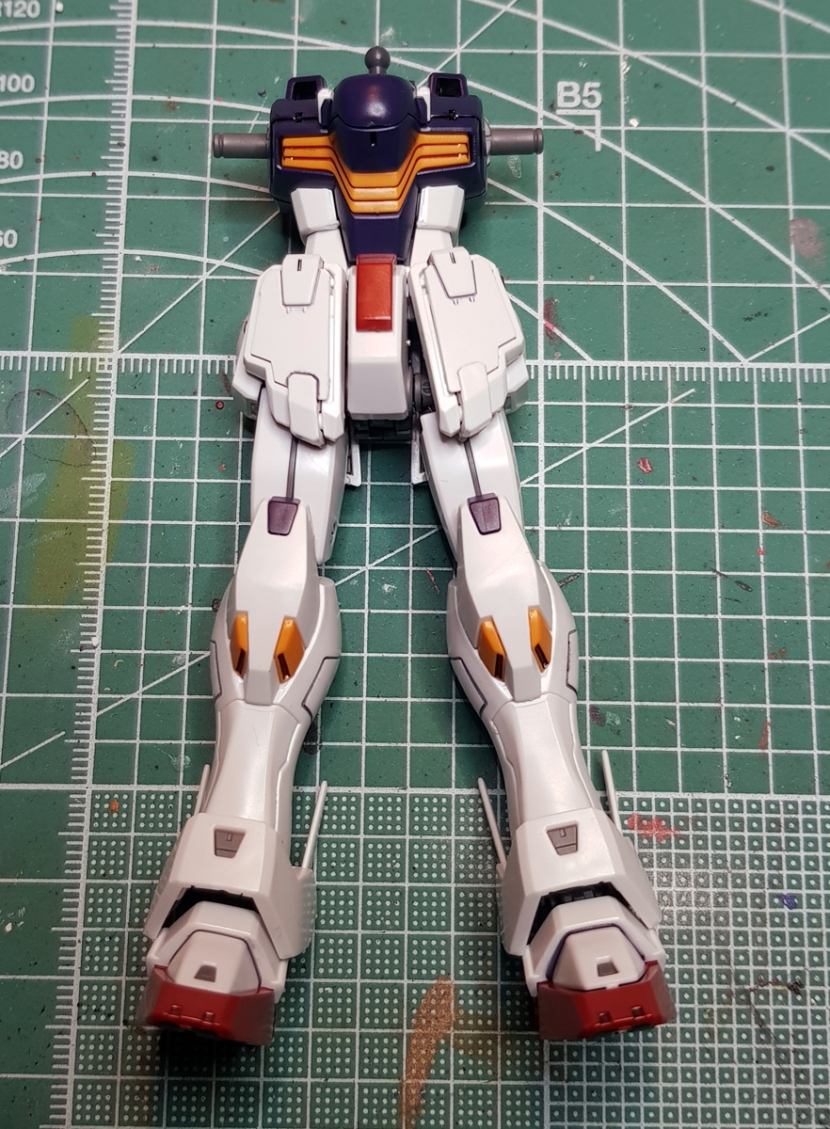
And now we have something to attach the legs to.
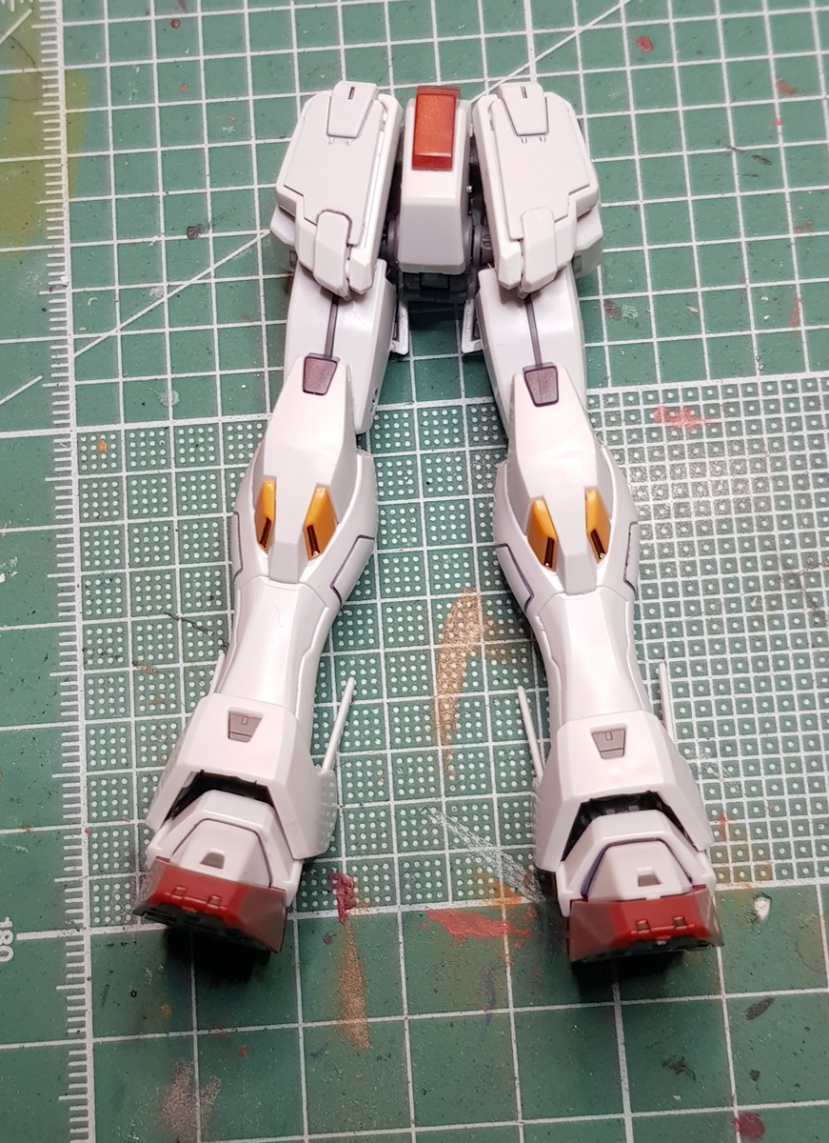
The torso is a fairly straightforward affair. The cockpit hatch opens, otherwise there’s nothing unusual going on here. The shoulder joints are just pegs on hinges to keep it simple and stable, no doubt because of the kit’s size.


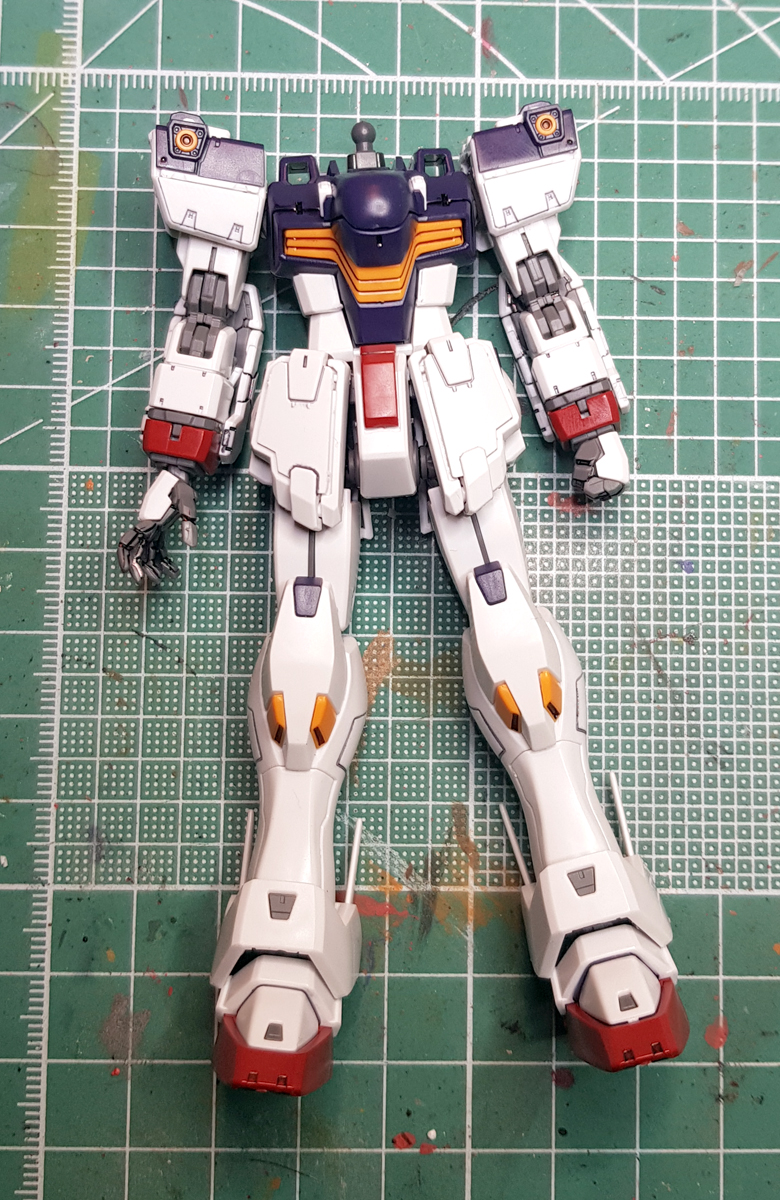
And here’s how everything goes together so far.
The arms have a lot of parts, but it’s a bit deceptive because three of them come from the swinging mechanism that the beam shield will attach to, and everything you see at the top is actually the shoulder armor.
Here’s how it all goes together. Notice that the shoulder armor attaches directly to the arm and not to the peg the arm sits on. this does restrict poseability a bit better, but it’s also way, way more solid.


And you know what that means – headless hessian time.
Well, and then we assemble the head. I think this probably took up 30% of my assembly time and most of it was spent trying to get the eye sticker on.


Notice that the red “scar” markings are a groove on the head armor. I panel lined these here and later covered them up with stickers, but it’s worth noting because it probably wouldn’t be too hard to paint these red if you’re so inclined.
The head also comes with extra parts to give it an eyepatch, by the way, but handling the clear piece for both eyes was maddening enough, so you’ll excuse me if I’m leaving the two parts that are half its size on the sprue.
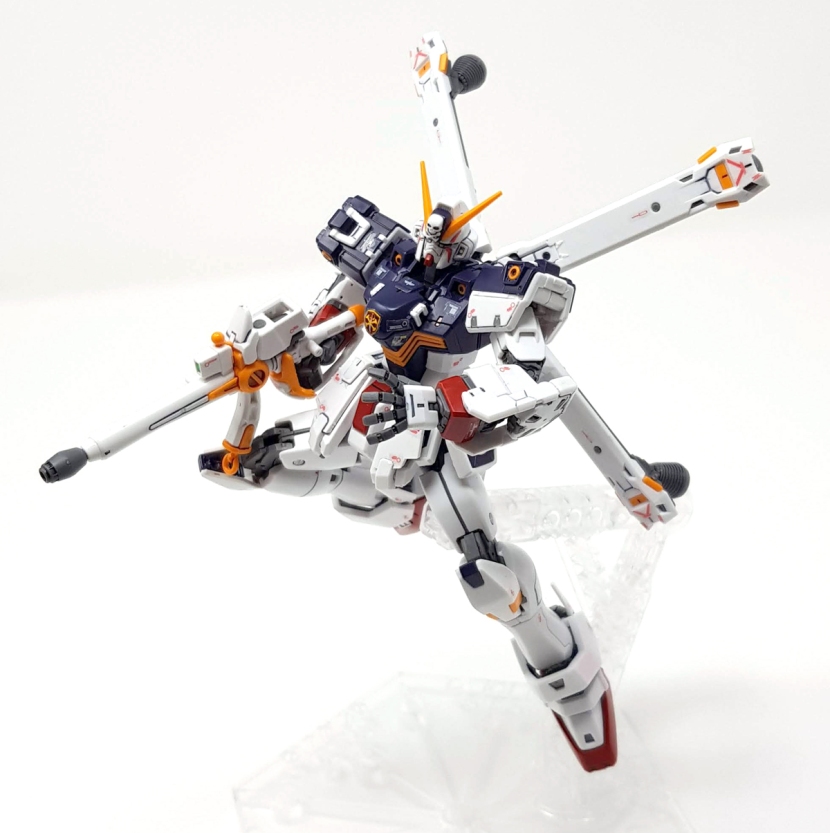
That completes the assembly, so here are the customary workbench pictures.


And now, you guessed it… accessories.
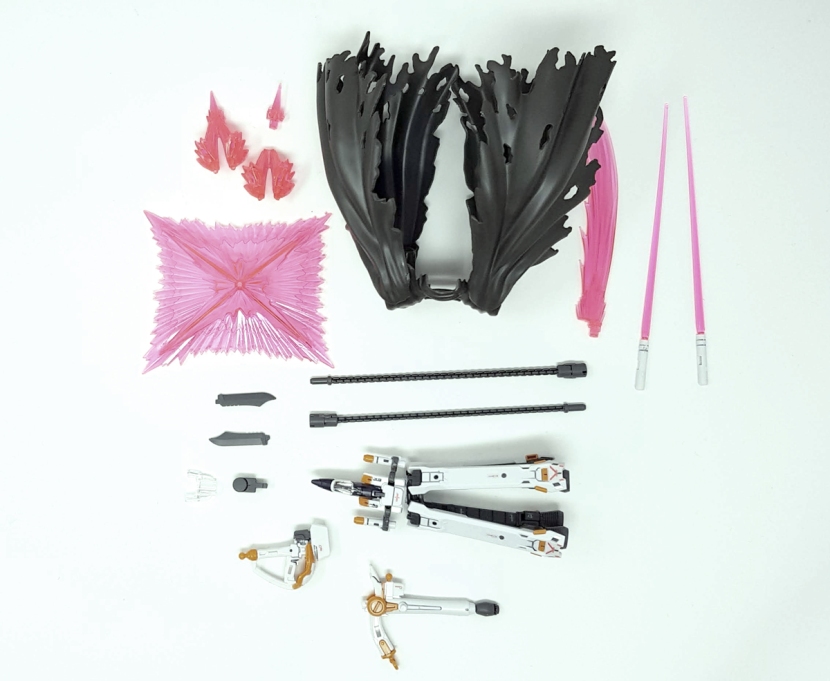
Needless to say, you get a ton of stuff with this kit. There are two beam sabers, the beam zanber, a pistol, two knife blades, two scissor anchor chains, two fist effect parts, a beam shield, two action base adapters and the cloak. Also pictured is the core fighter, if we want to consider that an accessory.
You also get a whopping eight hands.
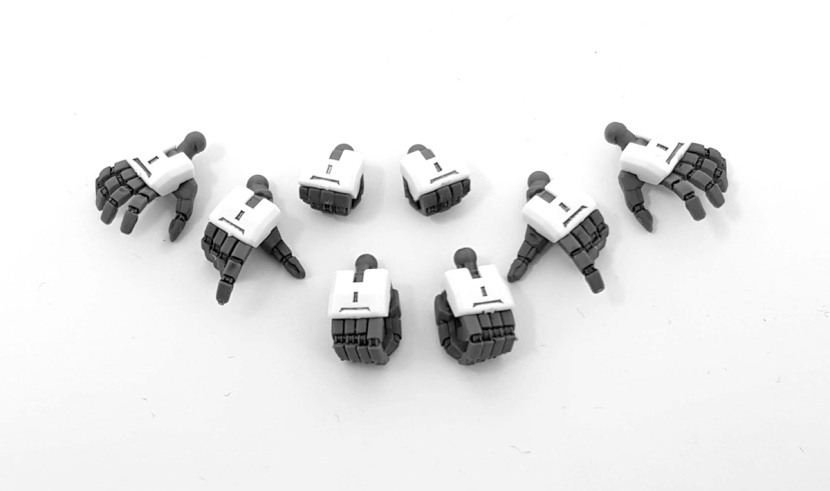
There are two closed fists, two regular holding hands, two trigger finger hands and two open hands. As usual with the recent RGs, no articulated hands anymore, and thank Lemmy for that. What’s new about the holding hands is that the pegs are molded into the armor parts, and they’re pretty thick. This results in some big peg holes in all of the weapons (there also aren’t any folding pegs on anything), but the tradeoff is that the suit can actually hold its damned weapons without you having to glue them in place, and frankly, I’ll take it.
The beam zanber and the pistol can be combined into this larger weapon.


Unfortunately, while it looks pretty cool, the guard rail from the zanber gets into the way of the arm, so the suit can’t hold it straight. You can still get some decent poses out of it, but it doesn’t seem too well thought out.
It looks ok like this, but if you look closely, you can see the gun is actually pointed way outward.


The knife blades can either be combined with handles stored in the legs into these Rambo knives, or they can be attached to the bottom of the feet for some James Bond type hidden-blade-in-my-shoe thing.
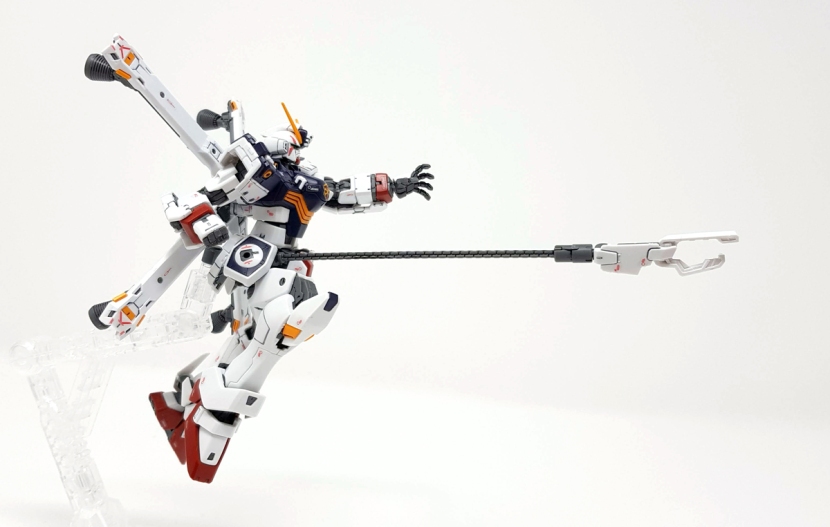
Here’s the scissor anchor. You transform the front skirt into this thing and then unplug it and attach it to the chain. Not my favorite gimmick and since I haven’t read the manga, it’s kind of lost on me.


My overall verdict is that the engineering on these RG kits is really getting nuts lately. This kit is tiny, and not only does it pose nearly as well as any other RG, it’s also at least as sturdy. The head was a nightmare to assemble and the knee pads have a tendency to pop off (they’re very easy to glue in place, though), and that’s about it. Everything else works perfectly.
Conversely, I also think that’s kind of the only thing I’m really all that impressed with – that this does what it does at about 70% of the size of a regular RG. If it was the size of the other kits, it would really just be another Real Grade – a nice looking and very solid one, but nothing particularly out of the ordinary.
So I guess the bottom line is, if you’re a fan of the Crossbone, you absolutely should get this kit because it’s definitely a damn fine piece of engineering, it looks good, and it comes with a ton of accessories. But if you’re looking for something a bit special and you don’t already have, say, the Sazabi or the Unicorn, I’d get those first.
Finally, here’s my Youtube review with a more in-depth look at the articulation. Everything else is more or less the same info (and pictures) as in this review.
