Tagged: tallgeese

Real Grade Tallgeese EW
You never forget your first.
I’m probably the only western Gunpla blogger alive or dead who didn’t grow up on a steady diet of Gundam Wing, and that, if you’ve been wondering, is the reason why you don’t really see any Wing kits on this blog. The Tallgeese, though, has kind of a special place in my heart.
See, way back around the turn of the century, I was really exclusively into Tomy Zoids and wanted to do a bit of kitbashing. Word around the Zoids community at the time was that “Gundams” made for good parts fodder, so I bought a few. The first of them was the 1/144 Tallgeese (this No Grade version, if memory serves), and while I did raid it for parts, I also built it first because I was curious about the kit. And honestly, taking it apart to slap the boosters on a Redler and use the shoulder joint to mount a cannon on kind of hurt. I really liked the design, and it was hard not to notice the quality of the kit, even back then.
Years later, I still sometimes thought of the Tallgeese and kind of meant to replace it. I’ve had the MG version sitting in my closet for a while now, but I’ve always been a bit apprehensive about whether I’d be able to do it justice. It’s white and it needs pre-shading, but all those curvy armor pieces look like they’re going to be a bitch and a half to shade.
Needless to say, when the RG was announced, I got my preorder in faster than a fat guy orders his supersize meal at Mickey Dee’s. Finally a quick fix for the glaring absence of a Tallgeese in my Gundam collection, and it’s the right version, to boot.
So here’s what’s in the box.
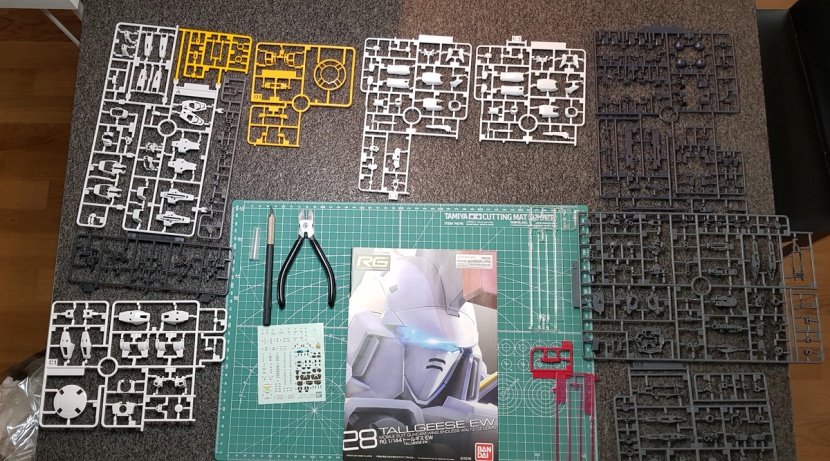
For some reason, the kit includes two clear beam saber effect parts along with the usual red ones. Sadly, the camera for the Dober Gun is also molded completely clear. There’s a blue sticker for this, but I decided to paint it clear red instead because clear blue always comes out too dark. Turns out the red did too. Oh well.
The sticker sheet is fairly small, which shouldn’t be too surprising – they opted to keep the general slick look of the Tallgeese and not clutter it up RG style with too much surface detail, and so there also aren’t that many stickers.
The white plarts are molded in a similar glossy plastic to the Sinanju and also pretty much all undergated; I don’t think there’s a single visible nub mark on any of the armor.
The big thing to notice here, though, is the small size of the B sprue. The internal frame on this kit is almost completely assembled the old-fashioned way with only a small handful of the usual pre-molded joints.

Nothing out of the ordinary about how the build starts, though – it’s with the feet. You take the internal frame part for them (which is really chunky in this case) from the B sprue and slap the armor on it.
What follows is unusual, though. Here’s the inner frame for the legs.


Only the part in the top left of the first picture comes from the B sprue, the rest is just regular grey plastic. You then assemble the knee joint with the mechanism for the armor separation much like you would on an MG.
Then you add the armor and you’re done. Nothing fancy here, although of course the ball-shaped joint for the hip also doesn’t come pre-molded.


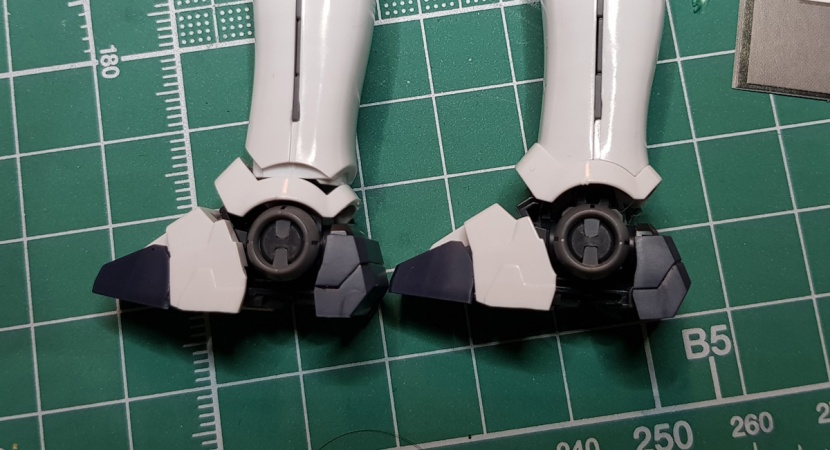
An amusing idiosyncrasy is how the bottom of the armor goes on – at first I thought this was the ankle armor and just sat loosely on the foot, but you actually click it into place after assembling the rest of the leg like so:
The waist unit is a rather massive undertaking, of course, because all the skirts have to open. It also doesn’t have a B sprue part, you actually start by sandwiching its halves together with the moving parts in between.


The extending crotch thruster gimmick will never not be weird. How many more kits with alien genitals are we going to get, Bandai? Wasn’t the Nightingale enough?


The rear and side skirts are next; the rear skirt section is one piece, but it still consists of a number of parts because it has two separate hatches that open to reveal thrusters, and the side skirts are actually double jointed.


Speaking of the side skirts, they also have this little connecting rod that plugs into a hole on the side of the thigh to help them move along with the legs. This works very poorly, though, as the rod keeps unplugging from the leg. And frankly, if it didn’t, you’d probably snap it in half within five minutes. So it’s all really kind of pointless.
Yep, starting to look like the Tallgeese alright. Next is the torso. You’d think this section would be simple as it’s so tiny because Katoki proportions, but you’d be wrong.


As there’s no B sprue part for the torso either, it all has to be assembled; the advantage of this is that the white part for the cockpit hatch can simply be attached between the two torso halves.


")

The arms have the only B sprue part that really looks like your standard RG inner frame. In another amusing bit of Tallgeese assembly weirdness, though, the orange yellow trim part for the wrist doesn’t just click on, but you put it on and then rotate it 90 degrees to lock it into place. Same with the entire shoulder armor assembly. Be careful not to get the B parts for the arms mixed up – they look almost identical, but they’re not, and if you rotate the shoulder armor the wrong way to lock it, you end up causing damage. How do I know this? Oh, just something I heard.
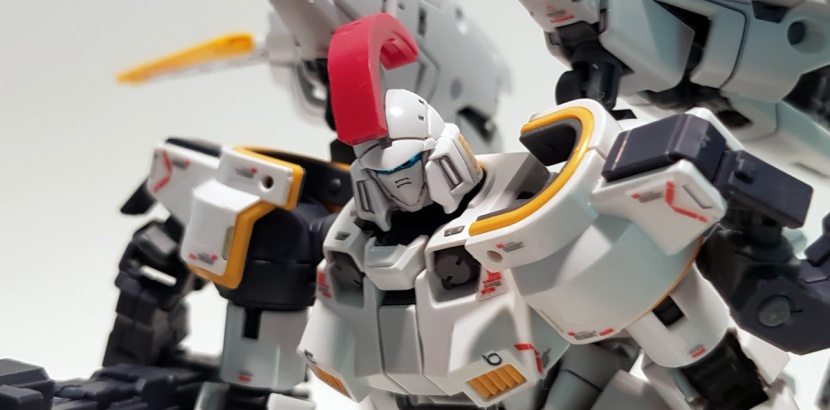
Another oddity about this assembly is that you do not, in fact, attach the arms next, but build the head, in two parts.


")
The instructions specifically tell you to first attach the bottom part of the head to the neck, then the dome/face combo. I have no idea why. Or why the instructions are done in a way that forces me to break with my Headless Hessian tradition. Anyway, it’s a nice looking head, but they really could have added some detail to the crest/fin/whatever. This thing looks beyond weird for a RG.
And here we are sans boosters. Needless to say, their assembly is pretty involved. Everything has to open and close, so the boosters are broken down into several interlocking sections.
")


In all honesty, I’m not terribly impressed with the engineering here. These things certainly look nice, but there’s a moving lever part in the middle (just under the armor piece with the yellow bit) that does basically nothing, and everything else has to be pried open and moved into place manually without any kind of mechanism making it slide into place on its own.


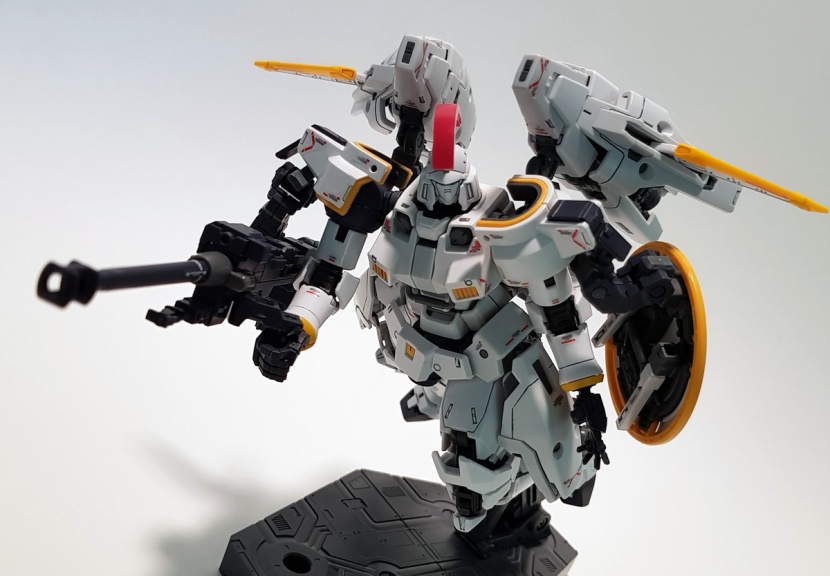
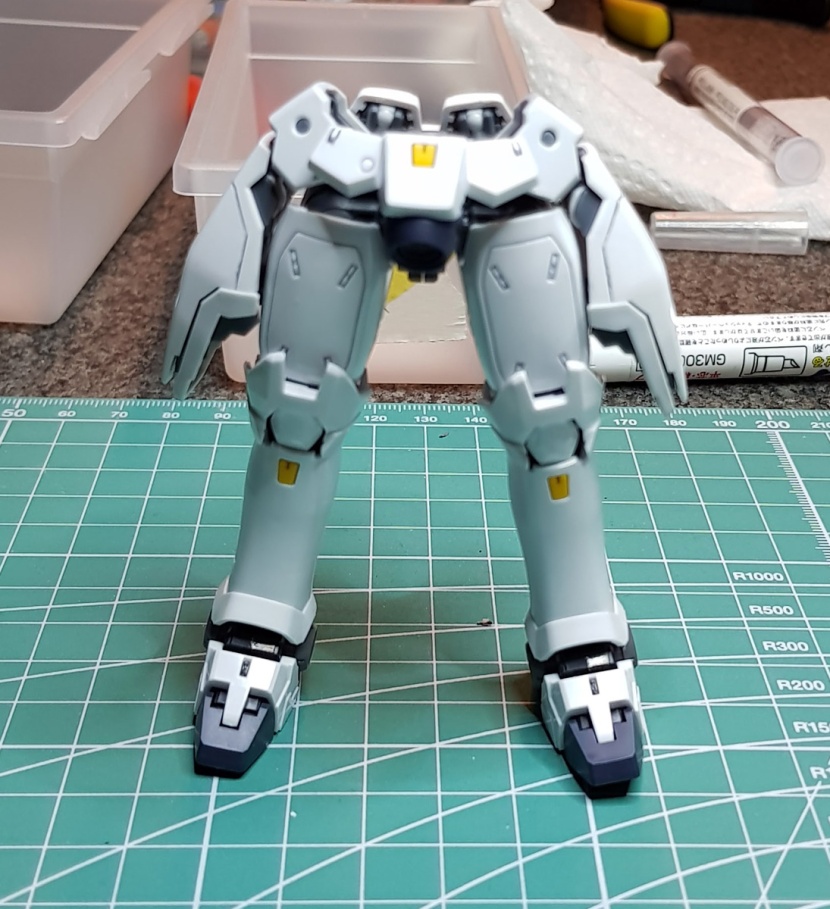
But anyway, here’s a shot of the suit with and without its accessories before I put the stickers on. As you can see, it stands up just fine, which comes as a pretty big surprise.


The accessories are about what you’d expect, except for the hand options. You get a pilot figure, the aforementioned four beam saber effect parts and two handles, the Dober Gun and the shield, plus no less than seven hands. Two fists, two open ones, two holding hands for the beam sabers and the handle on the shield, and one trigger finger hand for the gun. Also, the beam saber handles can be stored inside the shield.


The holding hands have angled wrist joints and also hold the sabers at a forward angle; this works really well for posing, as you can see here. The suit can hold the sabers at a much more natural angle than the awkward 90 degree TF G1 toy pose that you tended to get with the older RGs. No poseable hands, by the way, and thank god for that.


What doesn’t work as well, sadly, is the Dober Gun. The big contraption that attaches it to the shoulder armor works fine and can hold it up on its own, but it’s pretty ugly. Also, if you want to have the suit actually holding the handle as in the last picture here, you’re pretty much stuck with one pose for the arm – it’s a pain to wiggle it around until it all goes together, and there’s pretty much only one way to do it.
Poseability is pretty good considering all that’s going on with the kit. The torso has a considerable amount of ab flexibility and the head can also be tilted backwards so you can get some decent forward flying poses out of the kit. It’s also really, really solid – I don’t think a single piece fell off while I was working with the kit for these pictures.
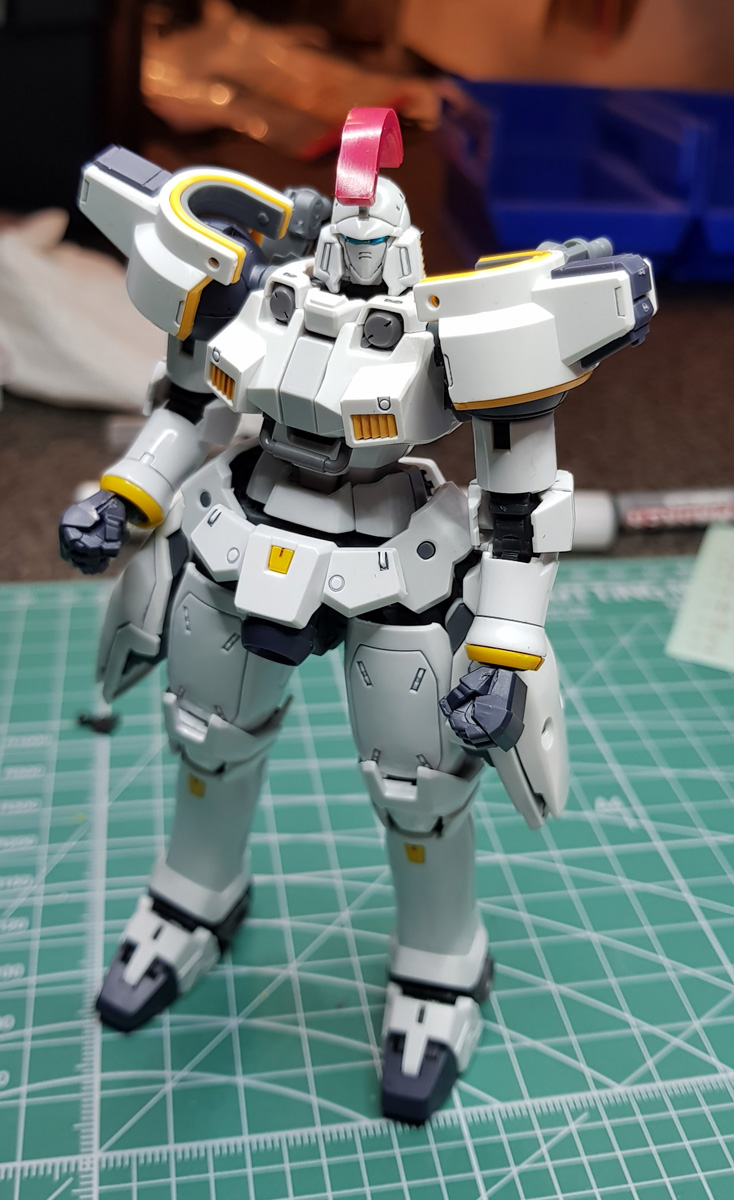
And of course it looks great. I was a little apprehensive about the design choices here when I saw the preview pictures – obviously the designers struggled with the fact that the Tallgeese’s look doesn’t really lend itself to an RG kit. It’s meant to have a lot of large, clean surfaces and too much clutter wouldn’t have made it look meaner or more interesting, just weird. I think ultimately they struck a really good balance here where the kit looks detailed, but also retains the character of the original design.
I’d definitely recommend this kit if you’re a fan of the Tallgeese. If you’re not, though, I’m not sure there’s any urgent reason to get this. It does everything it needs to do, it works, it’s sturdy, and it’s also a really fun and smooth build without too much frustration or fiddliness, but on the other hand, there’s just nothing all that special about it, other than maybe the near total absence of the usual RG inner frame parts. It’s just a good, solid RG kit of a classic suit that won’t disappoint you if you like said suit, but if you don’t, it also won’t change your mind.